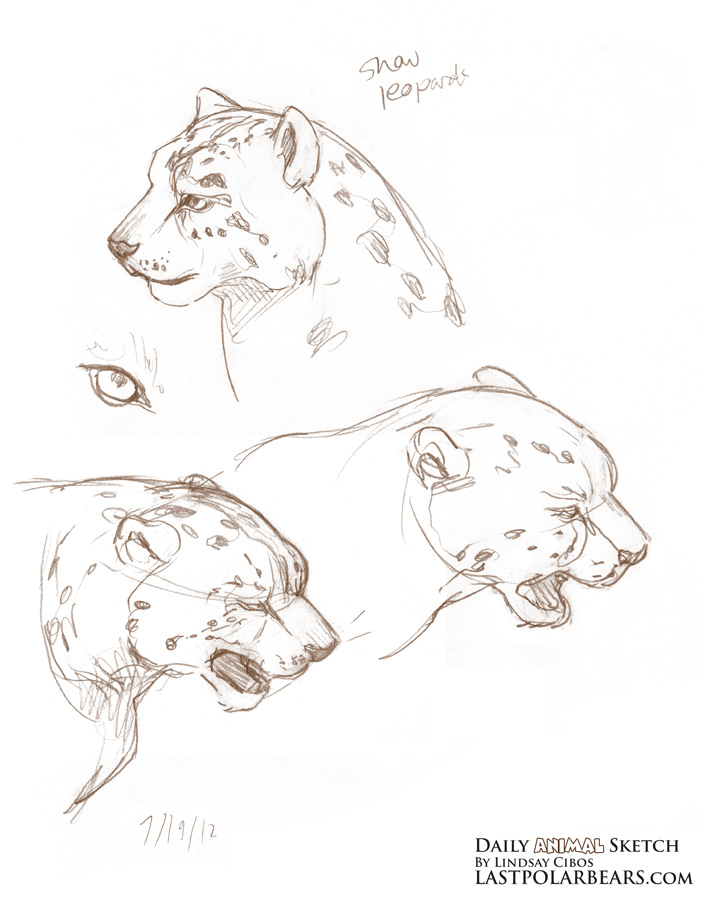
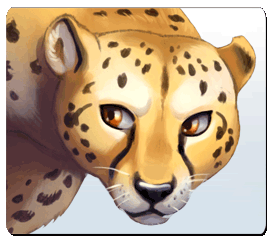
 With its sleek, streamlined body, and long, muscular limbs, the cheetah is built for speed. Capable of running at an incredible 70 mph, the cheetah is faster than the rest of the big cats, or any other land mammal. As you draw, try to bring out the power and grace of this beautiful feline.
The key to drawing anything is to break it down into basic shapes. If you can draw circles and ovals, you can draw a cheetah. Don’t be discouraged if your first attempt doesn’t turn out exactly like the picture. Practice makes perfect, so let’s begin!
Step 1: Brainstorm Poses
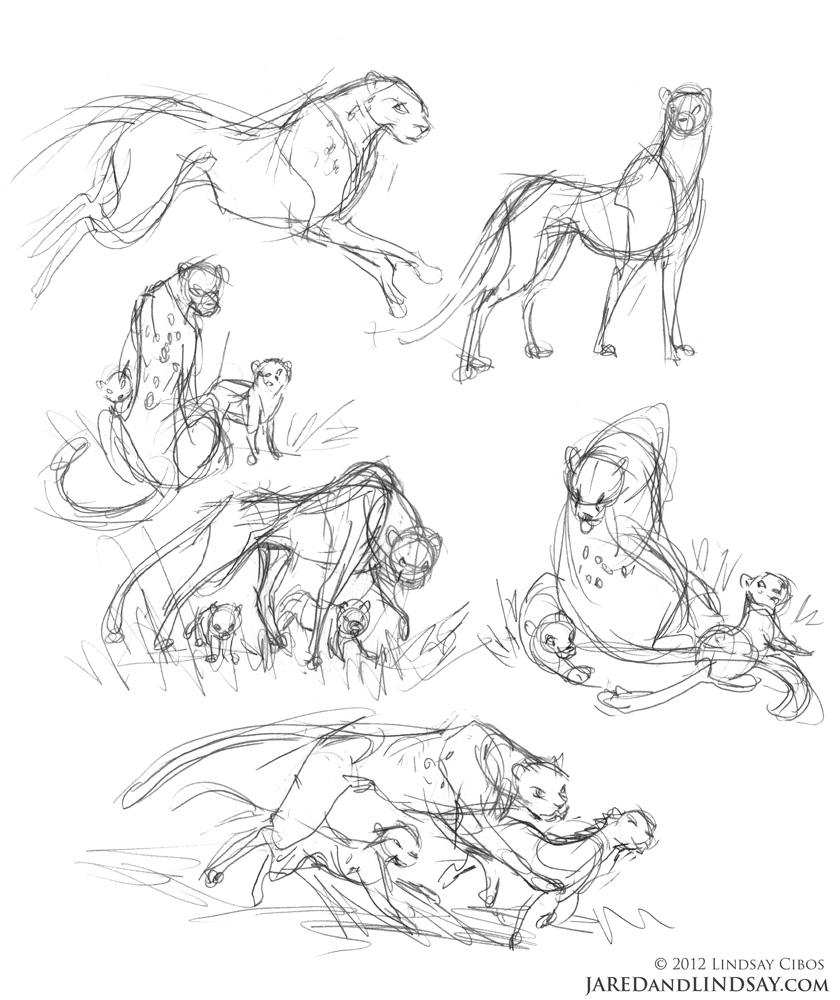
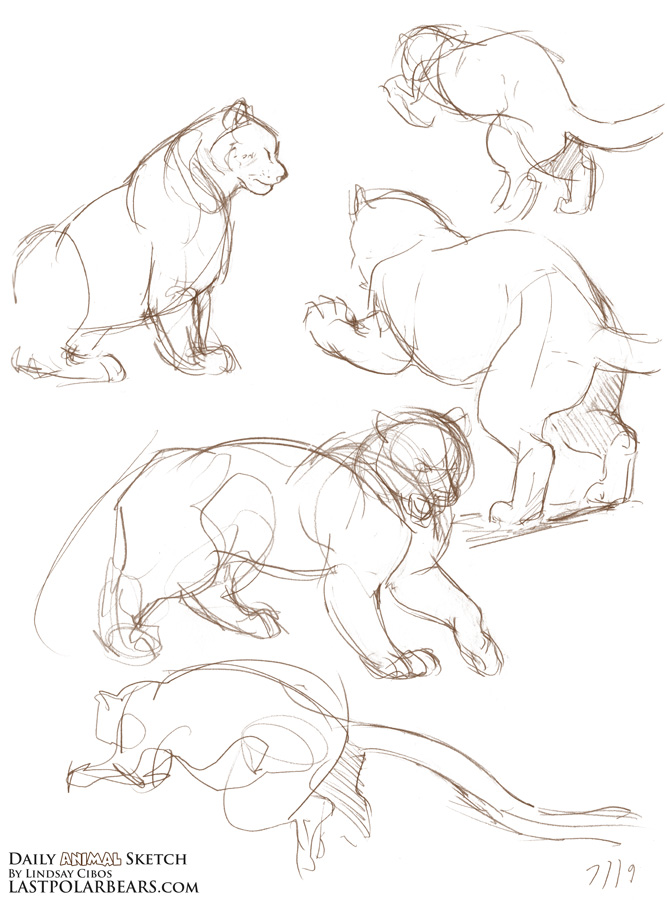
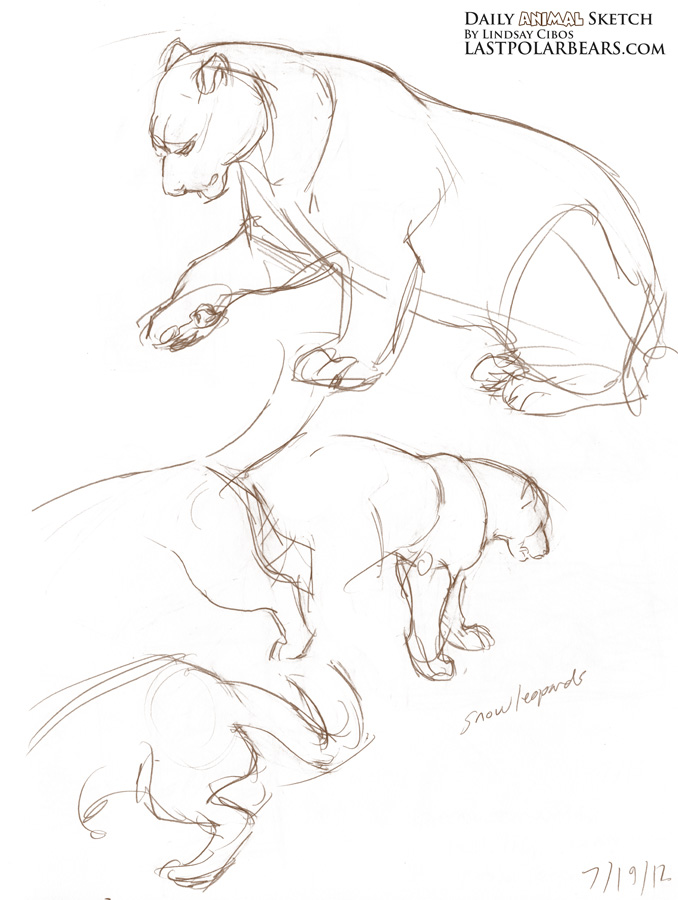
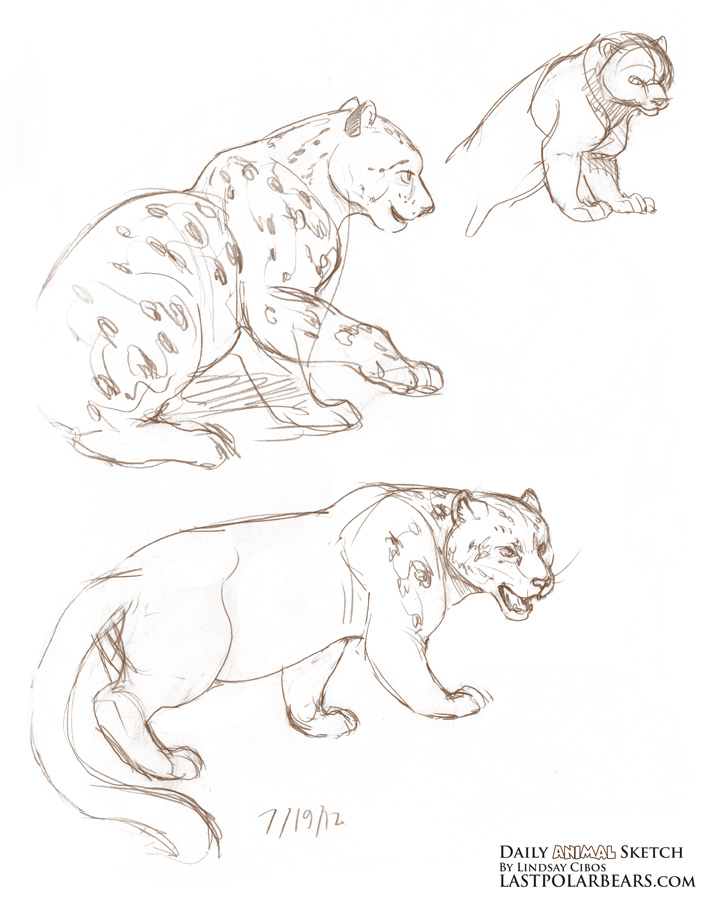
Start small, sketching free flowing thumbnail drawings, no more than a couple of inches large. Don’t worry about details or getting the anatomy right. This is the time to explore ideas. Think about poses that best highlight the cheetah’s physical qualities and personality.
Step 2: Rough Pose
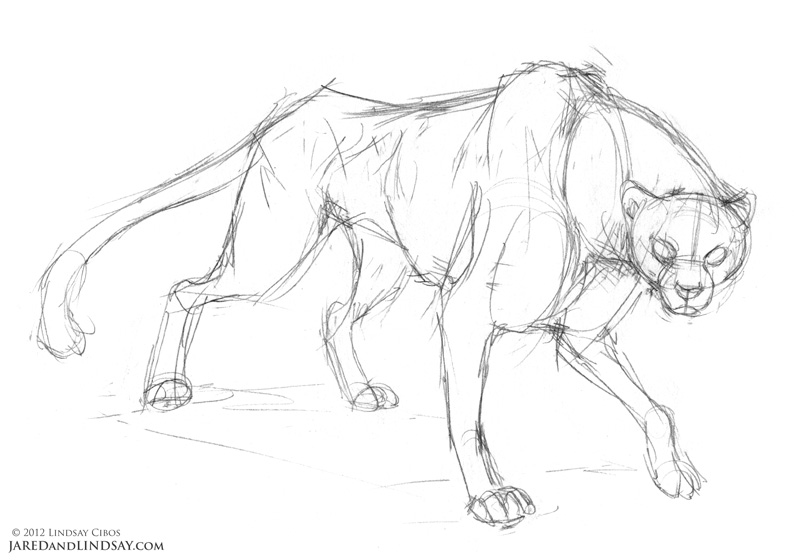
Look over your sketches and pick your favorite. Use this sketch as the basis for your final drawing. I redrew my fourth sketch of a protective mother cheetah standing over her cubs to create a more dynamically posed image of a lone hunter.
Step 3: Upper Body
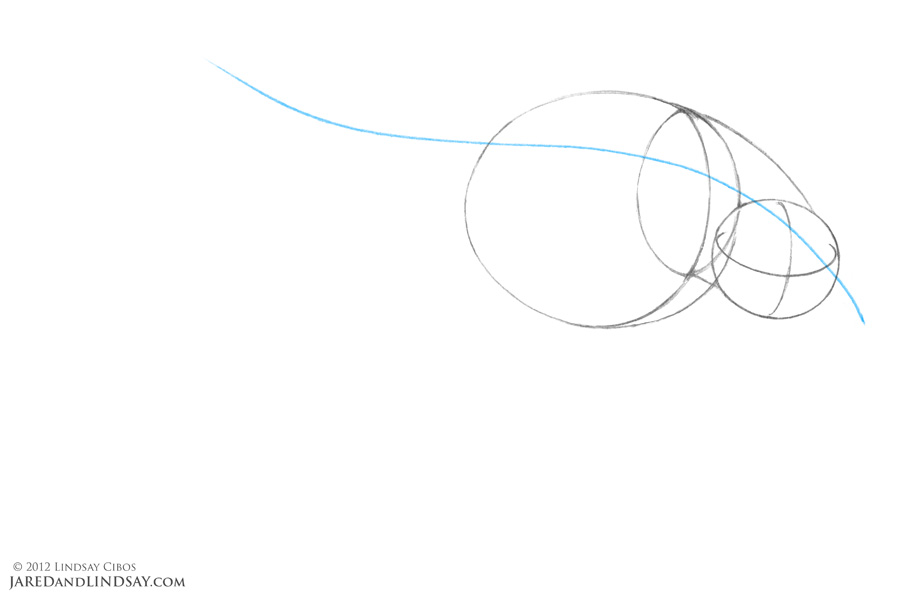
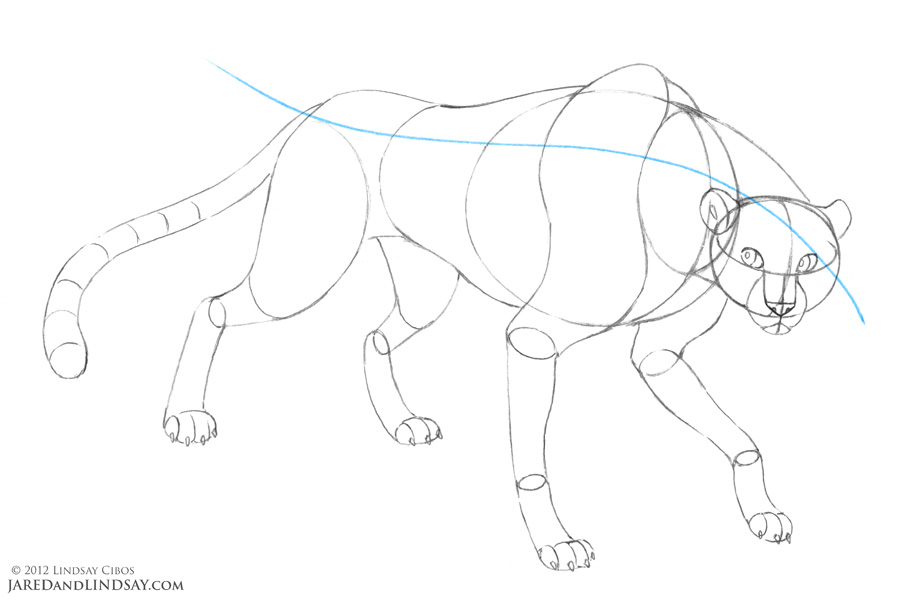
On a fresh sheet of paper, sketch a curving line to represent the “line of action” of the pose. Then, sketch a circle with guidelines for the head. Draw a large egg shape for the cheetah’s broad chest. Connect them with a cone-shaped neck.
Step 4: Front Legs
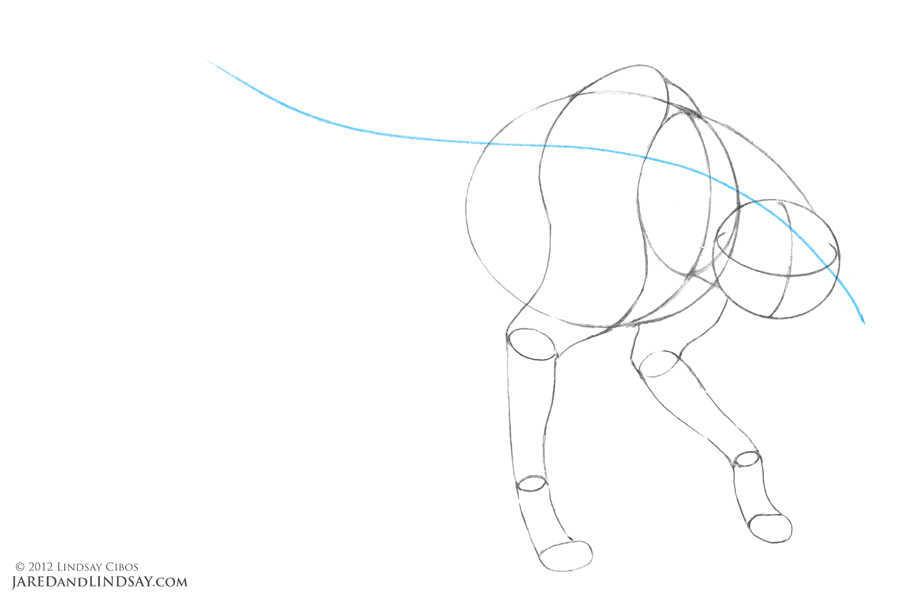
Build up the chest with a pair of prominent shoulder blades that form a hump in the center of the back, and flow down the chest to the elbows. Draw a long tube shape for the cat’s forelimbs, then divide the shape into wrist and paw segments.
Step 5: Head
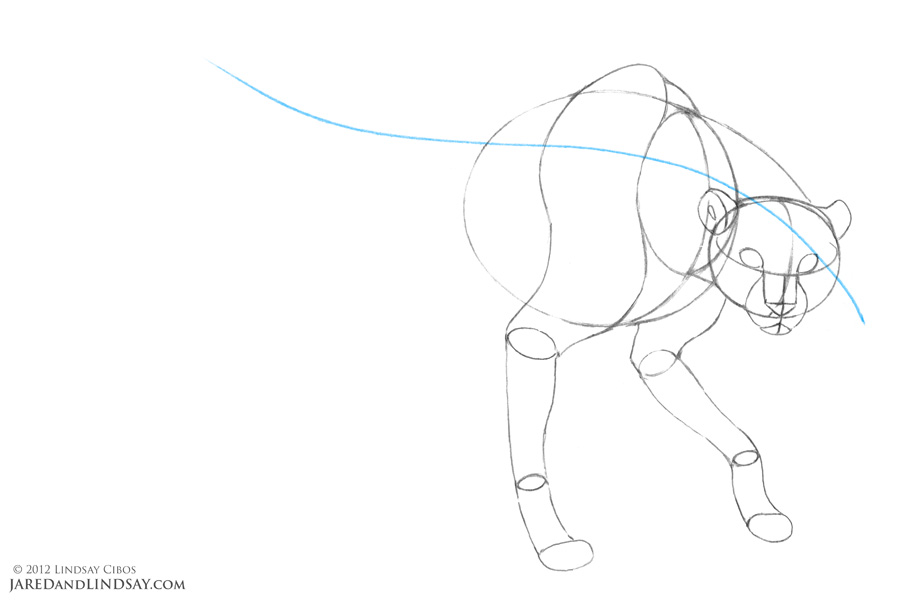
Bulk up the top of the cheetah’s head, and add a pair of small, circular ears. Then draw a pair of oval eyes resting on the horizontal guideline of the face. Next, sketch a circular muzzle extruding from the middle. Add an upside down triangle for the nose. From there, pull down into an upside down V to create that familiar feline mouth shape.
Step 6: Lower Body
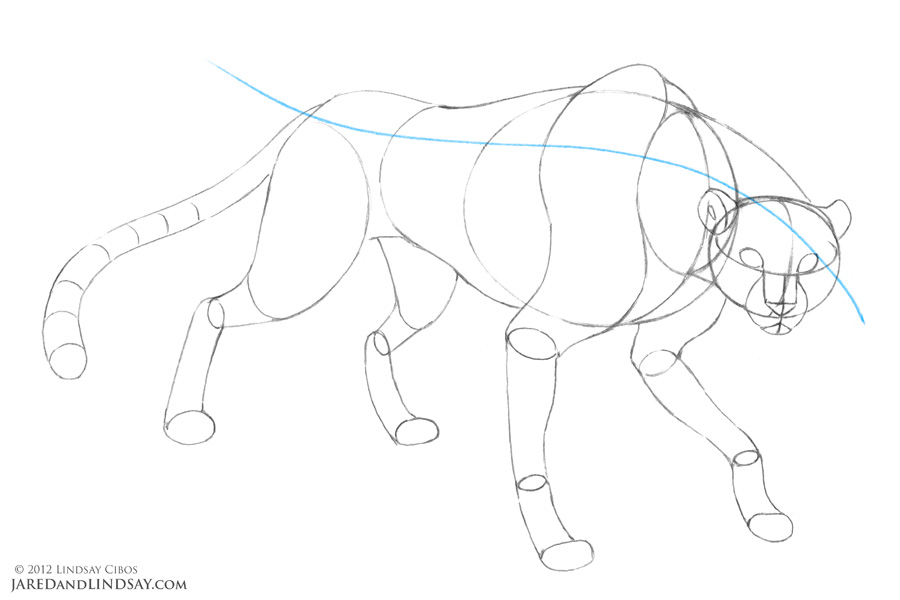
Taper the lines of the cheetah’s upper torso into a narrow waist. Then, sketch the pelvis and muscular hind legs. Extending from the base of the spine, sketch the long tail. Use surface lines to help visualize the tail’s rounded form as it sweeps towards the viewer.
Step 7: Details
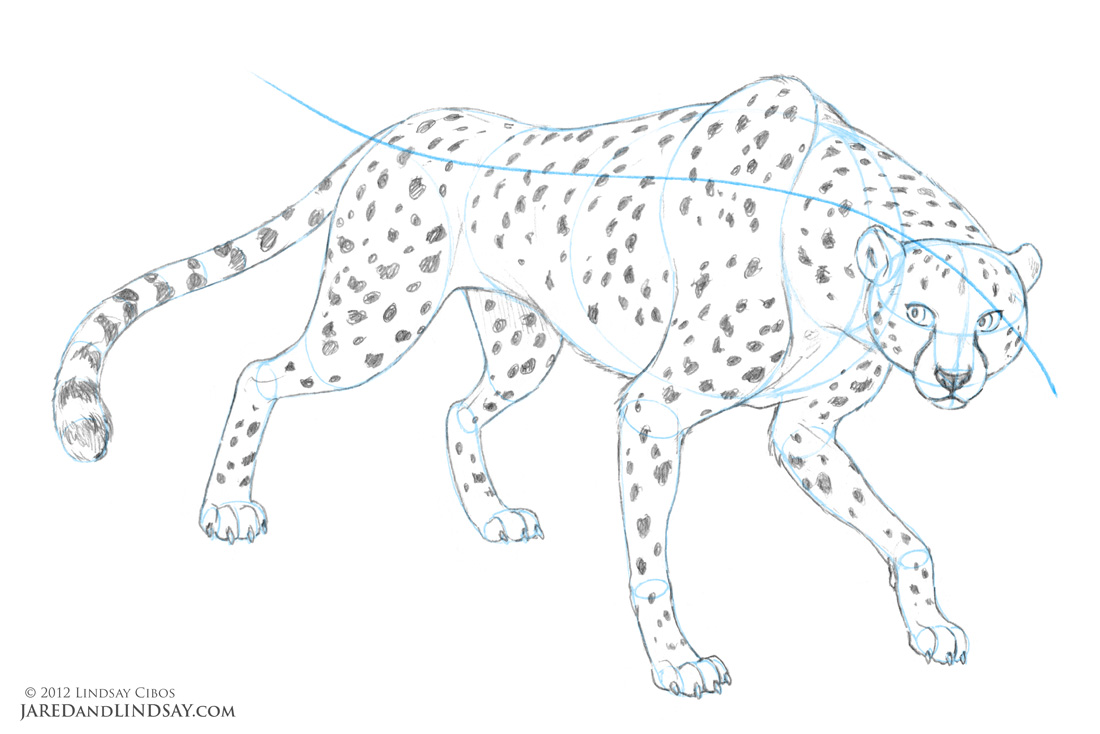
Divide each paw into four rounded toes. Sketch a long claw in the center of each toe. Add an iris and pupil to both eyes to complete them. (Remember, big cats like the cheetah have circular pupils, not slivers like house cats.) Draw a pair of nostrils in the nose. Almost there!
Step 8: Refine Drawing
Tighten and darken your lines. Erase any construction guidelines. Use broken lines to fluff up the cheetah’s elbows, underbelly, shoulder blades, and tail tip. Lightly sketch the cheetah’s iconic spots, taking into consideration the curvature of the body, and then fill them in with pencil shading. Don’t forget the cheetah’s “tear marks” that extend from the inner eye to the corners of the mouth.
Step 9: Color
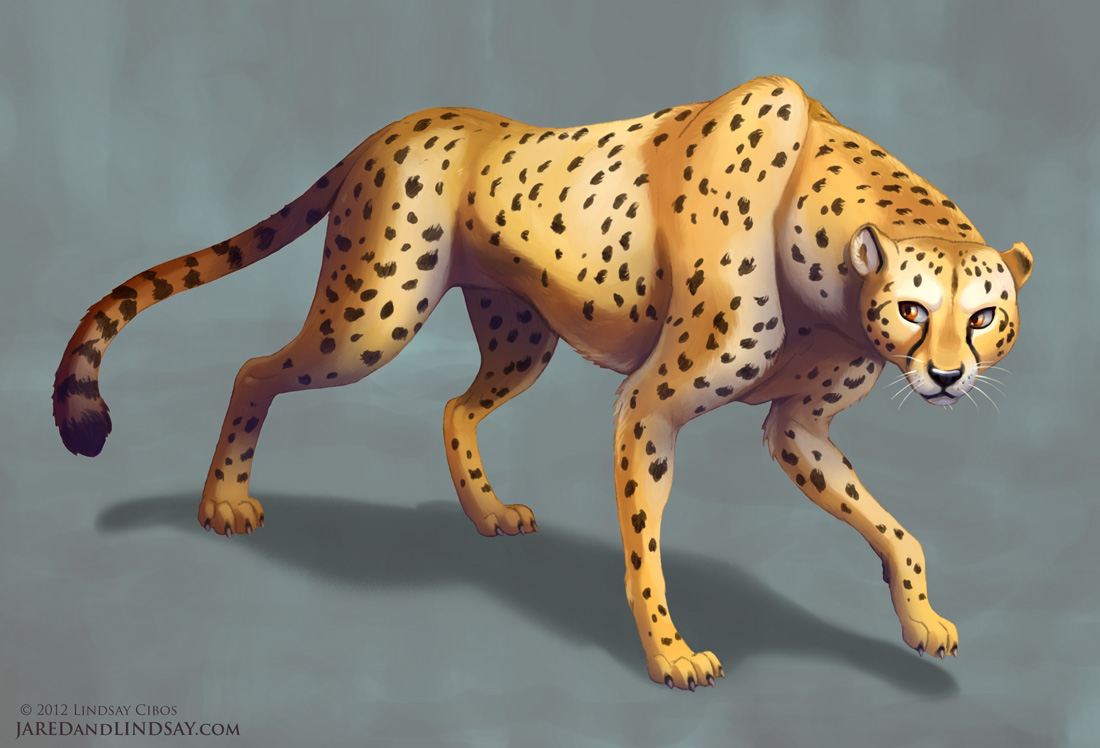
Start by laying down the base tones. Cheetahs have creamy tan-colored fur, with white accents around the muzzle, brow, and underbelly. Add darker shadow tones to the underside of the cheetah to give him a three-dimensional quality. Then fill in his spots with dark brown.
Thanks for reading!
Don’t give up if your first drawings aren’t perfect. Art is not something that can be learned overnight. Drawing is a skill that must be practiced and supplemented through observation, so keep a sketchbook, and take it with you everywhere. Look around you, draw what you see. Visit the zoo and sketch animals. Sketch people at the mall. The more you draw, the better you’ll get. Good luck!
Download the complete lesson for offline use here!
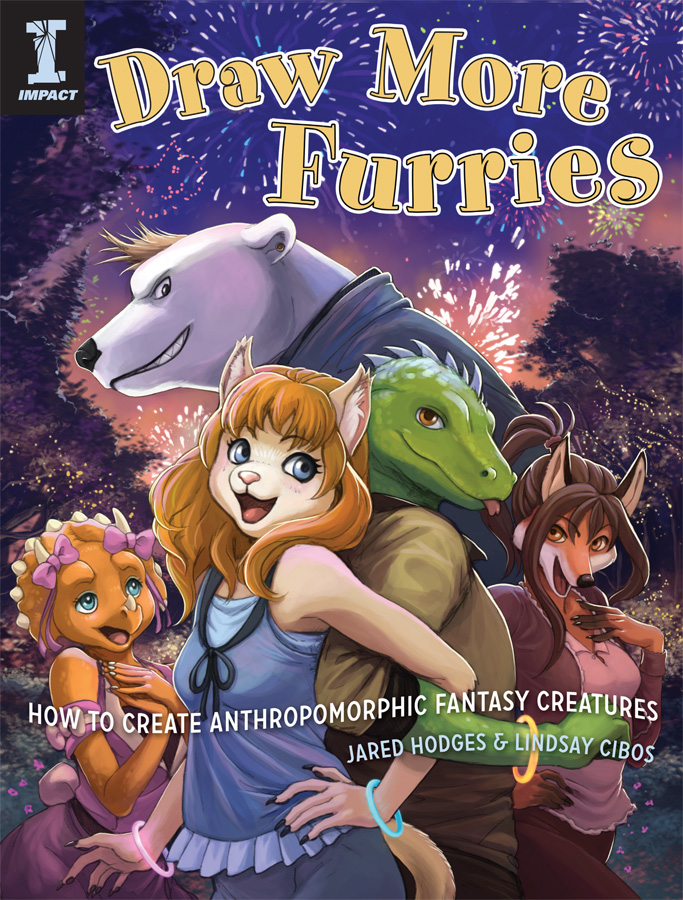
If you enjoyed this tutorial, check out my new book on drawing anthropomorphic animal characters, Draw More Furries! Click on the book cover below to learn more. Happy drawing!
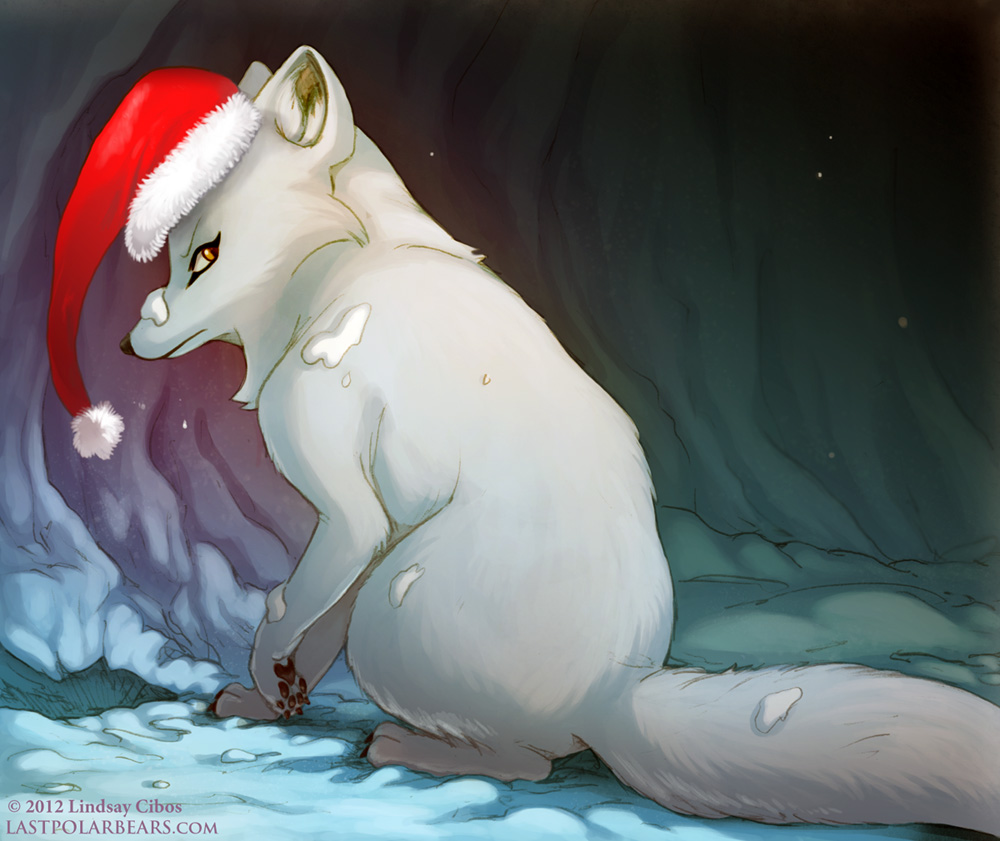
Wishing you the happiest holiday and a wonderful new year!
Here’s Santa Frostbite to celebrate the season! (Frostbite says “Bah, Humbug!” ^o^;;) Felt bad about not having any time to do a proper Xmas pic, so I did the next best thing and painted a Santa hat on Frostbite.
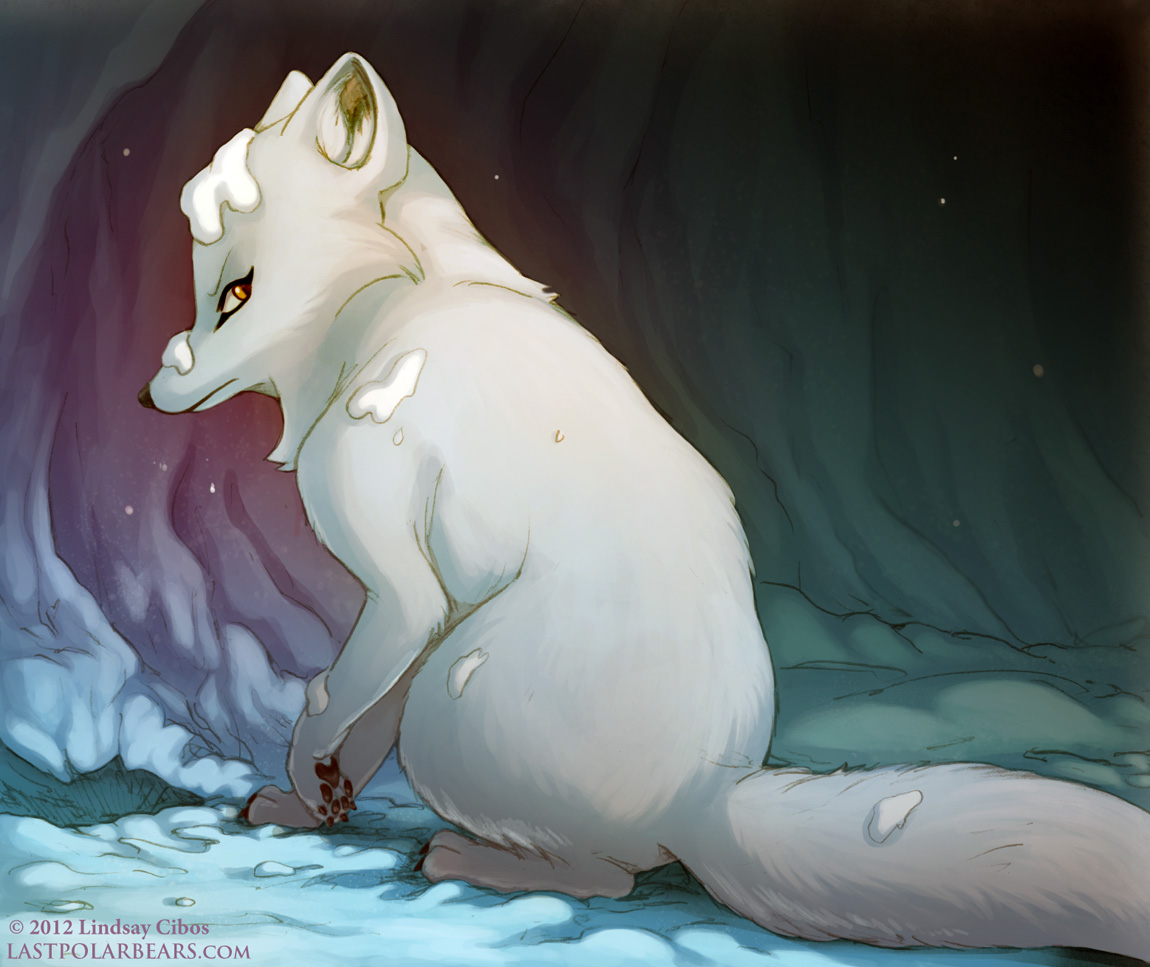
Here’s the original version, “Well There Goes Dinner”, an illuminated panel from The Last of the Polar Bears page 31:
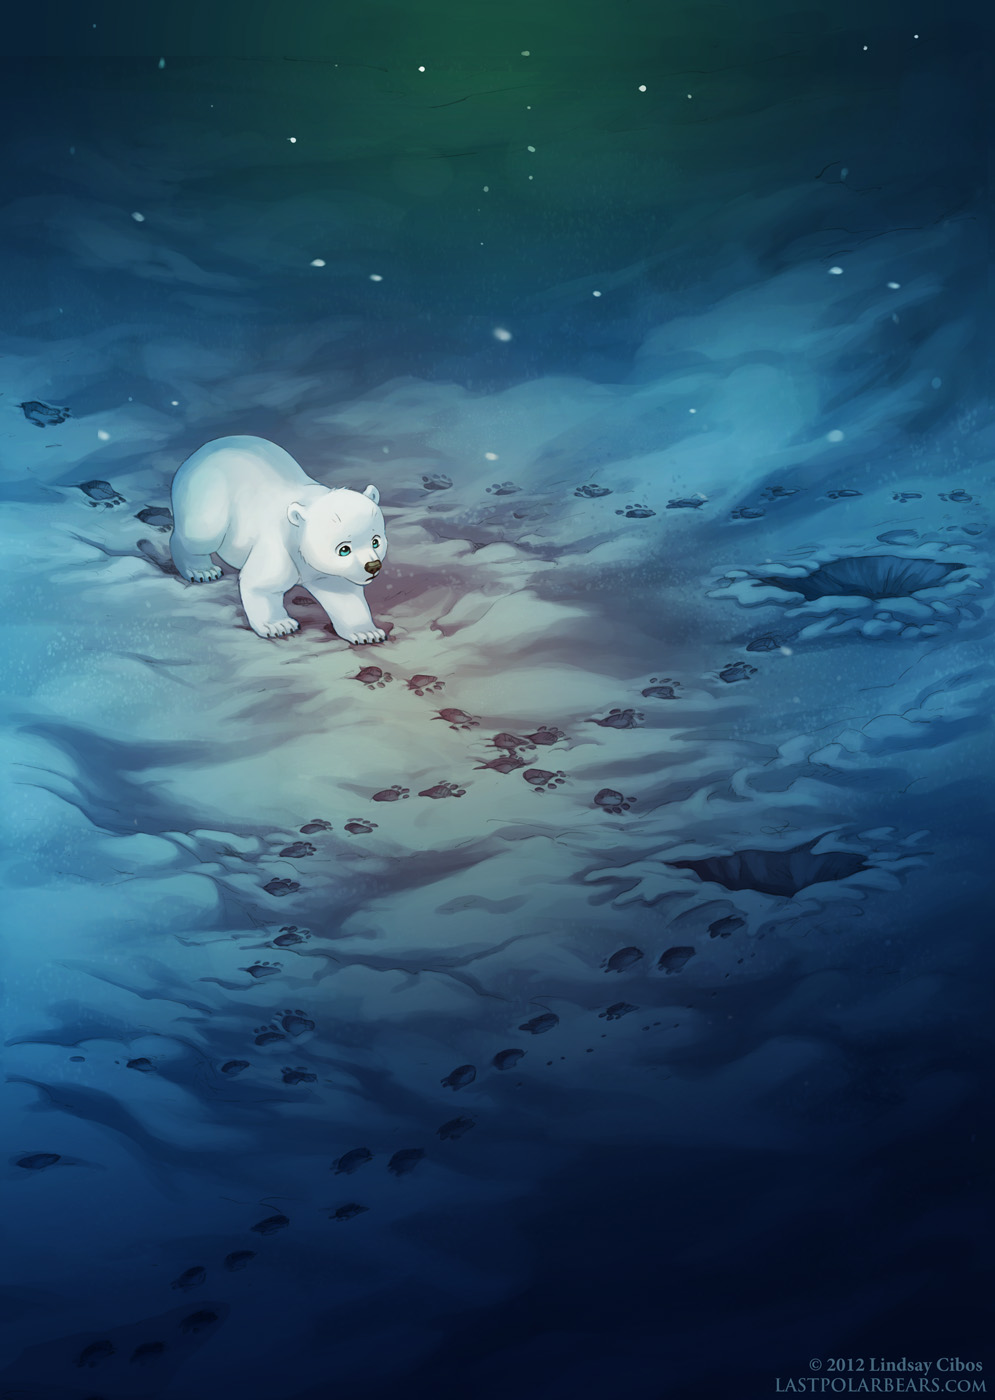
Paw prints converge into crisscrossing paths in the snow. An illuminated panel from The Last of the Polar Bears pg 26.
